

By Duncan MacDougall July 4, 2023
Connect to the Controller
- Configure the computers IP address in the range of 192.168.0.2 to 192.168.0.254, except for 192.168.0.251 as this address is the default IP address of the intelligent controller.
- Turn DIP switches 1 OFF, 2 ON, 3 OFF, and 4 OFF. This sets the default IP of the board to 192.168.0.251
- Supply 12-24 VDC to the board to power it on and then browse to the following address while on the same LAN:
- Accept the self-signed certificate warning and click on the link “Click here to login.”
- Turn DIP switch 1 ON. This sets the login to default: admin password. Note that it says you have 5 minutes to login but typically it is a much shorter time than that. If you cannot login you need to start over.
Configure the Controllers Settings
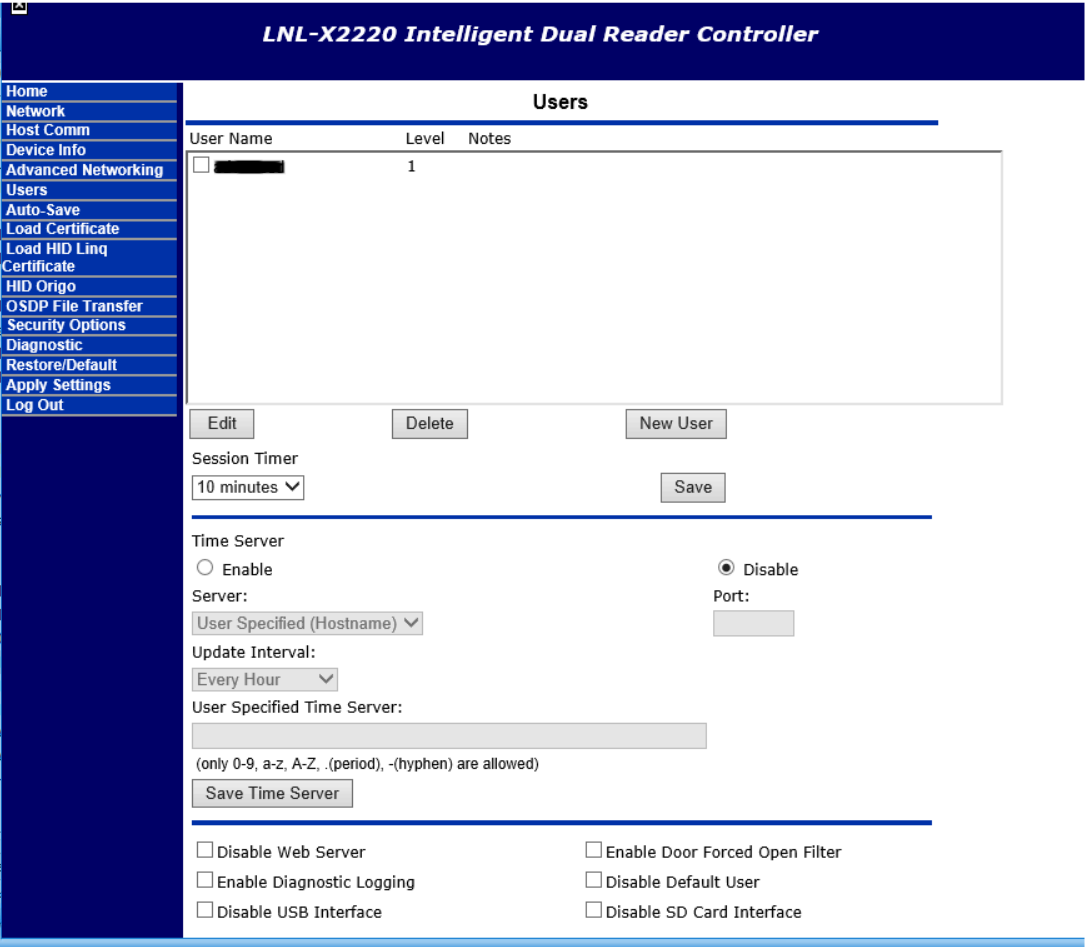
- First configure the username and password to log into the boards web interface. If the username does not fill in the list after you have created it you likely have a firmware issue and need to reflash the board. Click save under the users tab as well as on the bottom of this page. Acknowledge the pop up.
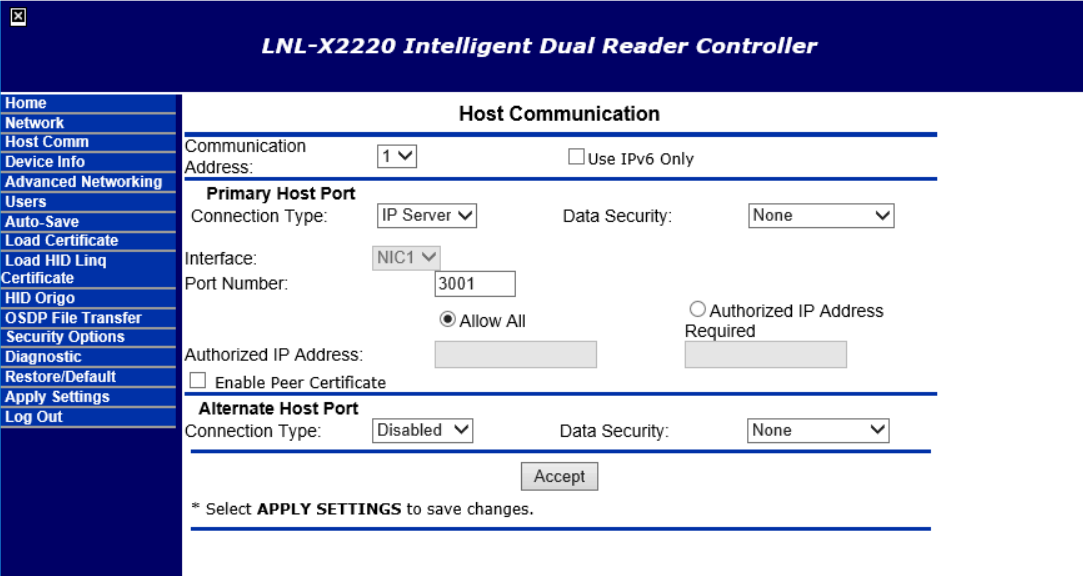
- In the Host Comm tab set the data security as desired or as required by the Access Control Software. Choose accept and acknowledge the popup. Note that if you cannot connect later ensure the communications address is configured to the same number in both the Access Control software and this web page. You may also try setting Data Security to “none” or “if available”.
- In the Network tab enter the IP, subnet mask, gateway, and DNS servers appropriate for the network.. If you do not have DNS you can use Googles or cloudflares at 8.8.8.8 and 8.8.4.4 or 1.1.1.1 and 1.0.0.1

- Click accept and acknowledge the popup.
Save the Settings and Connect to Software
- Turn all DIP switches OFF.
- Navigate to the Apply Settings page.
- Click Apply Settings and Reboot.
- Connect the controller to its intended network and then continue to configure it in the Access Control software if not done already. Don’t forget to move jumper J1 to “pass through” if you intend to power your card readers directly from the intelligent controller.